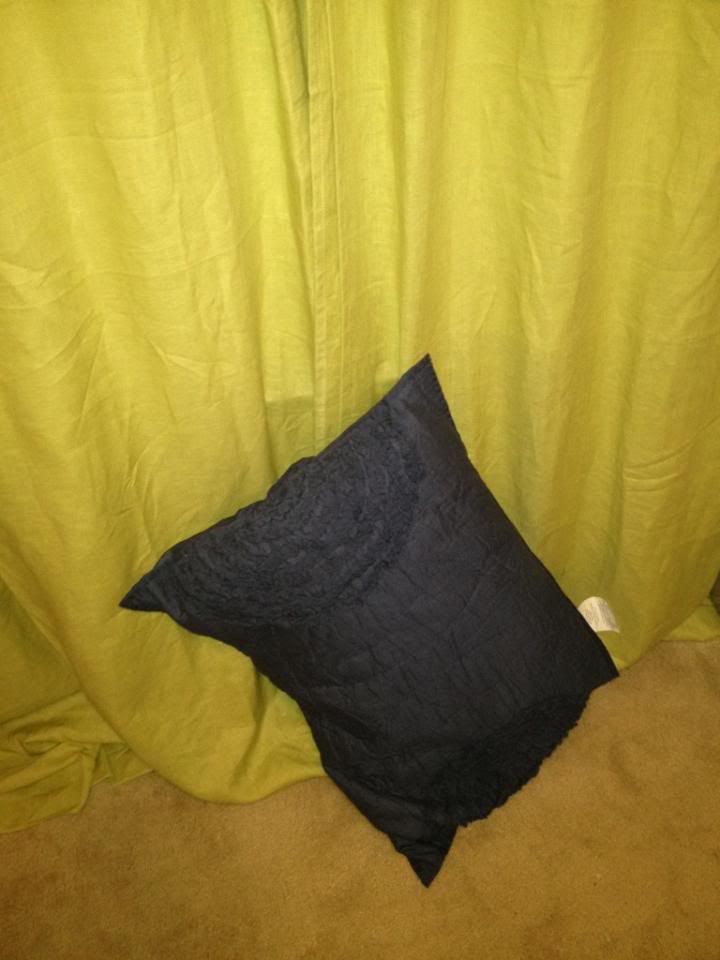
The headboard is made of a closet door they found at the Habitat ReStore in Valdosta. They brought it home, added a few cross bars to make it sturdy and so that it wouldn't bend, and then they added alittle decorative molding. Alittle primer later, and it was ready to gift. They left it primed, so that I could pick out what I wanted to do with it. Sooo, the first step was to find some inspiration. For this - I took to the internet. I've noticed lately one design that seems to be trending is the chevron pattern (aka zigzag), so I started searching for that and found this chair. I have green-yellow (grellow) curtains, and navy blue pillow shams, so I was looking for something that would go with that. I used this as my inspiration.

Next, Momma and I went to Lowe's to pick out colors. I got Kathleen to send me a picture of my curtains and shams, so that we could use that to compare.
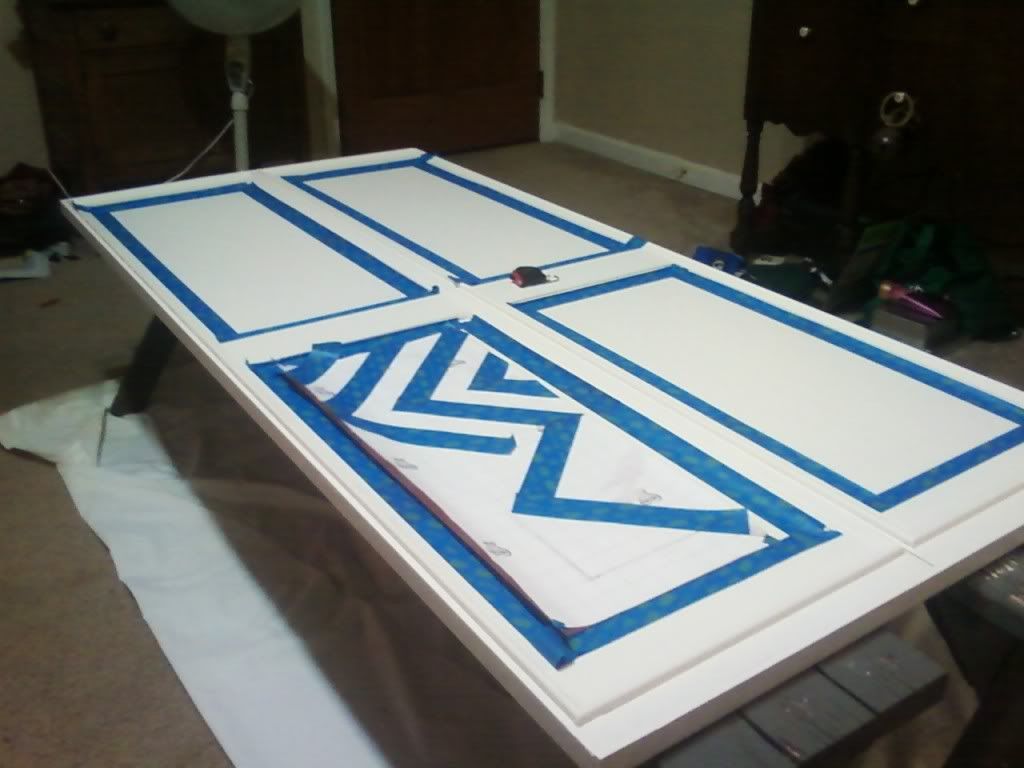
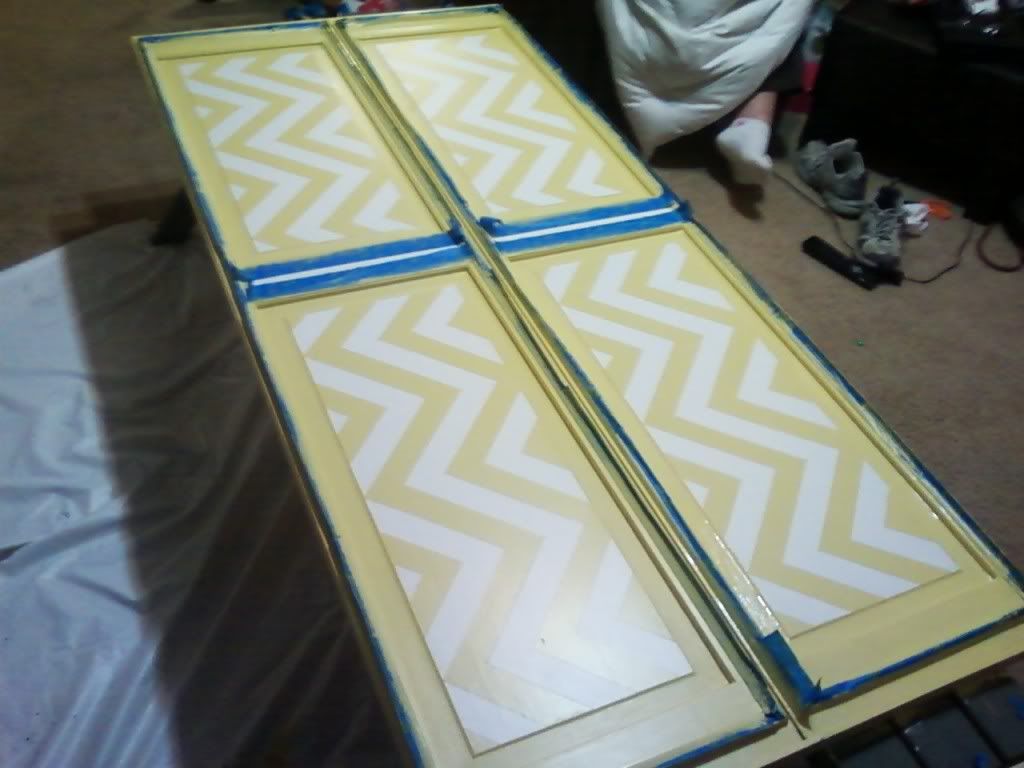
We decided to go with the green color for less of a "BAM! IN YOUR FACE ZIG ZAG!" vibe that the navy would have given off. Once we got home, we painted on the base color which would tape over next. The base color was called "Candlelit Beige" and basically white, but alittle warmer than if we had just gone with the whitest of white. While this color was drying, we practiced our pattern on wrapping paper that we had cut out to the exact size of our board. Once the candlelit beige was dry, it was time to tape. And tape we did...all night it felt like...
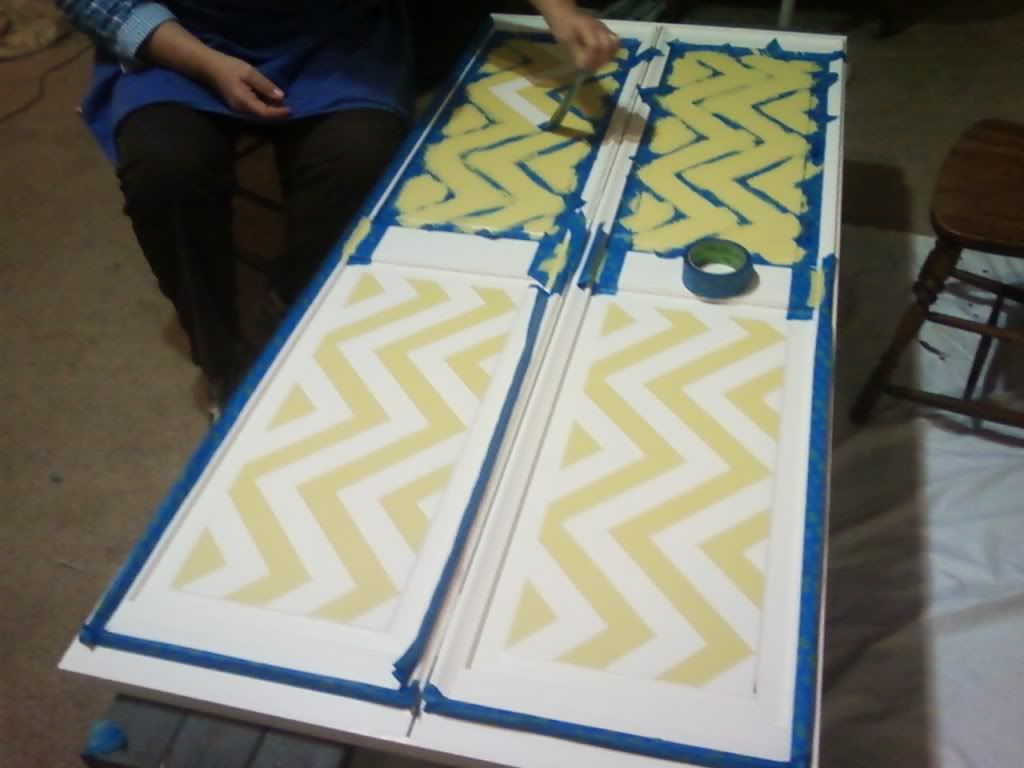
Next, we painted on the green color. This got two coats and then it was time to remove the tape - my favorite part!!
Here is what it looked like with all the tape removed. Looking Good!
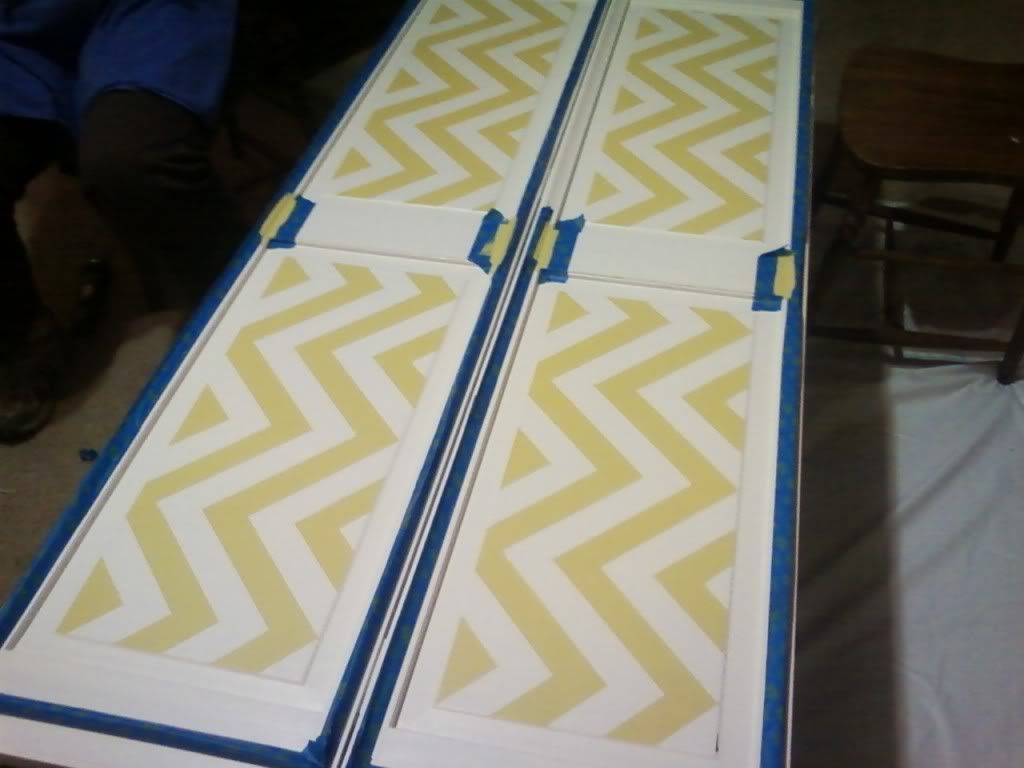
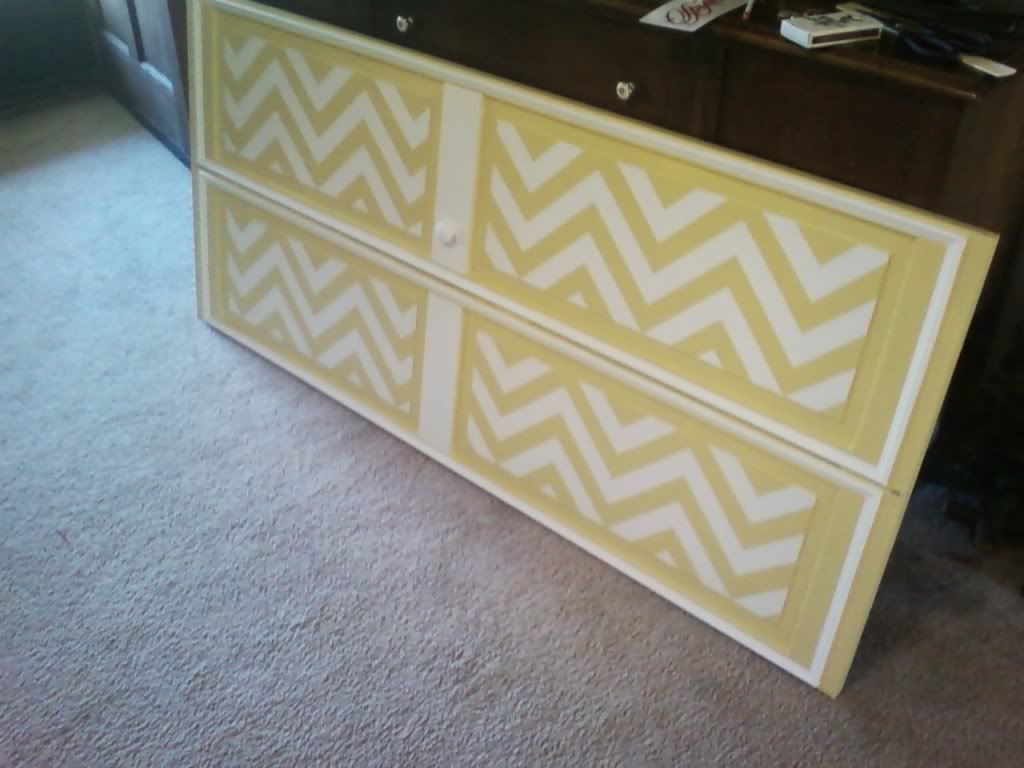
After we removed the tape, we added more tape! We had to cover the molding and paint everything green except the decorative molding. We wanted it to stay Candlelit Beige.
Once that dried, we removed the tape, and added the doorknob back on. We thought that gave it alittle character and now you can't look at it without realizing it used to be a closet door.
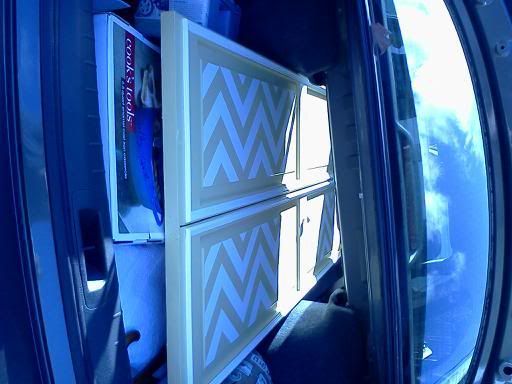
The one thing nobody wanted to say the whole time we were crafting it up was, "There is no way that is going to fit in your car, so it may have to wait weeks or months before it hangs over your bed!" I had faith the whole time. So, we put the seats down in my car and carried the headboard outside to see if it would fit.
and...IT DID! What an amazing car!? I could probably fit a hot water heater in there if I wanted to. Sorry the picture is sideways (and blue for some reason), but that is the headboard...perfectly fitting inside my car!
And we all know that as soon as I got it home, I had to hang it up. I can't have a headboard that cool just laying around my room. So, I used our handy dandy Hangman hanger we got at Lowe's and hung it up.


Finally, I rehung the floral picture on the other wall, and the transformation from no headboard to headboard was complete. I think it looks really great!

It looks really cool at night by lamp light, but my rinky dink phone won't capture it. Don't worry - my Iphone arrives via FedEx tomorrow and my pictures will be 100 times better from here on out! Notice the higher quality picture Kathleen sent me from her iphone? It's the one of my curtains and sham.
That is such a terrific idea! I love how it turned out.
ReplyDelete